Creating and Deploying a Web App Using Azure CLI
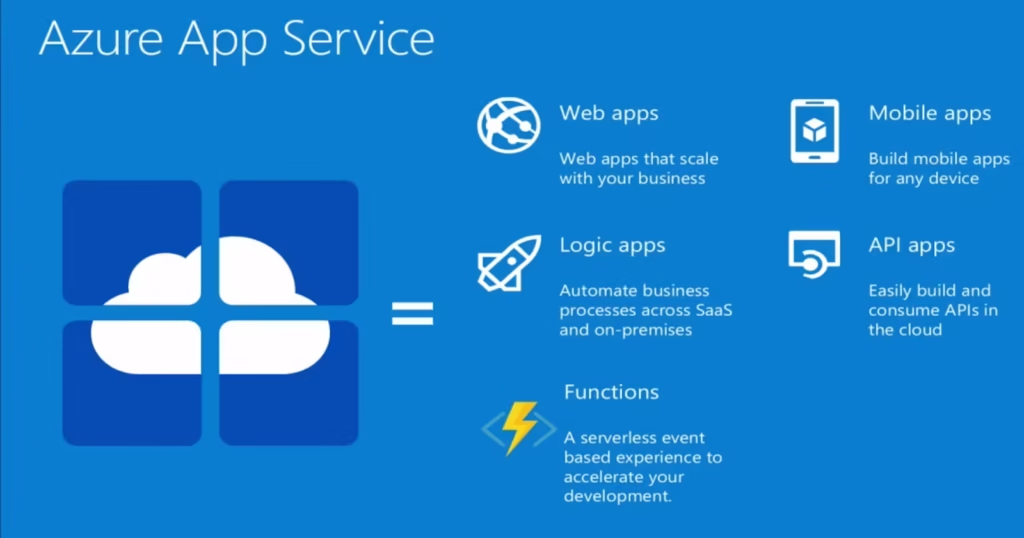
To create a web app via Azure CLI, follow these steps:
- Install Azure CLI: If you haven’t already, install the Azure CLI on your machine. You can download it from the official Azure CLI installation page or see the installation instructions here.
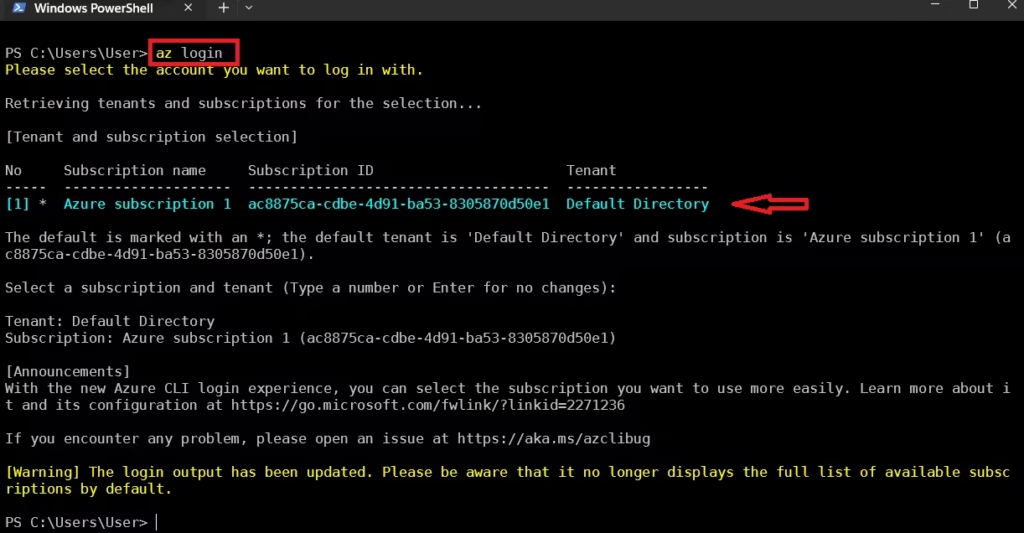
- Log in to Azure: Open your terminal or command prompt and log in to your Azure account using:
az login
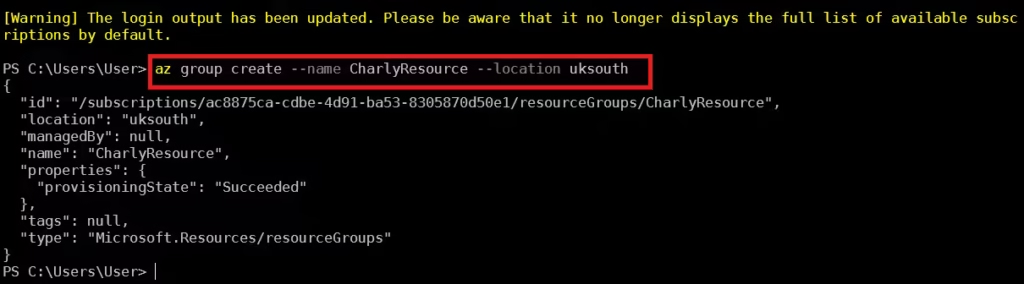
3. Create a Resource Group: Create a resource group to hold your web app resources using the command az group create --name YourResourceGroupName --location yourlocation
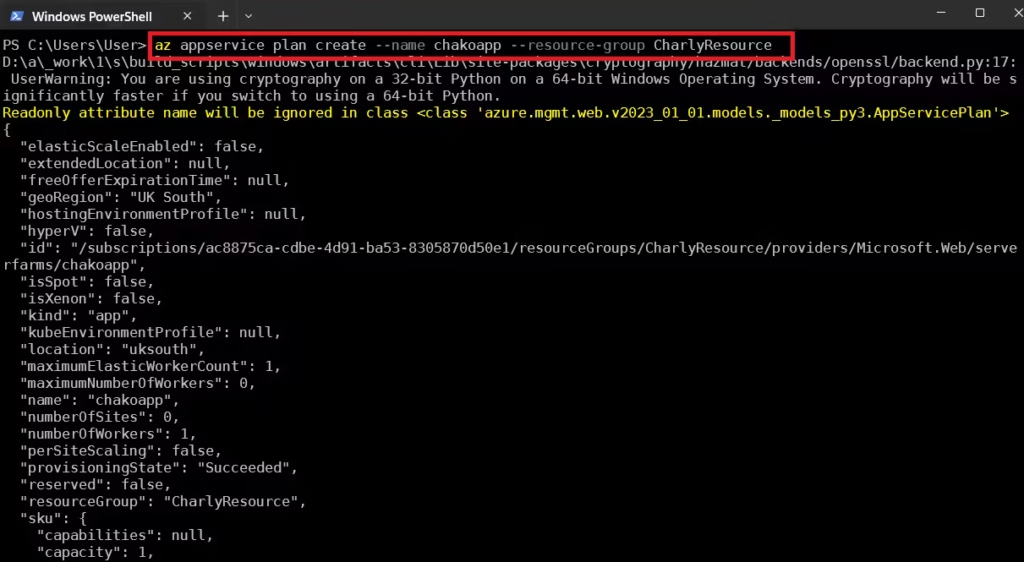
4. Create an App Service Plan: An App Service plan defines the region, number of instances, and pricing tier for your web app using the command – az appservice plan create --name chakoapp --resource-group CharlyResource
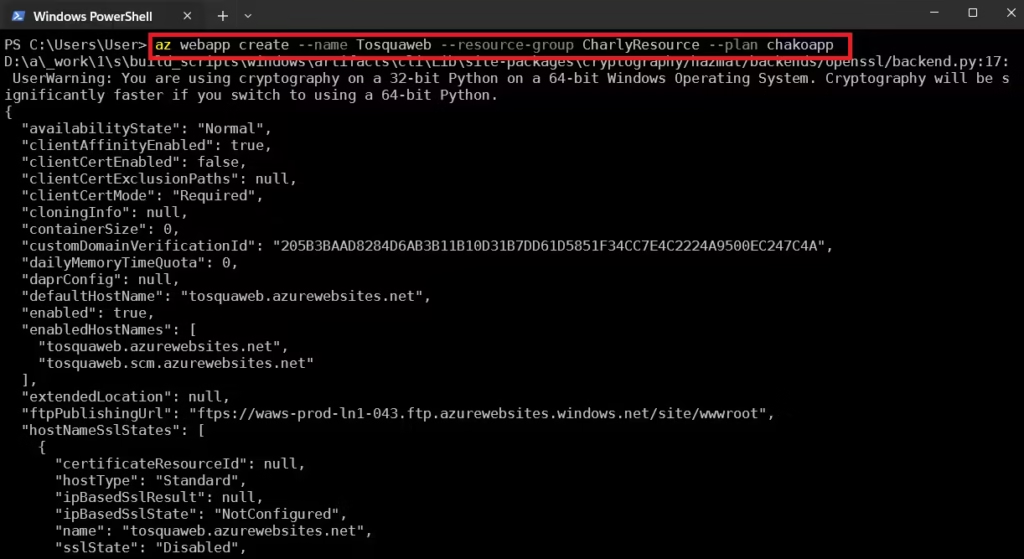
5. Now, create the web app within the App Service plan using the command – az webapp create --name Tosquaweb --resource-group CharlyResource --plan chakoapp
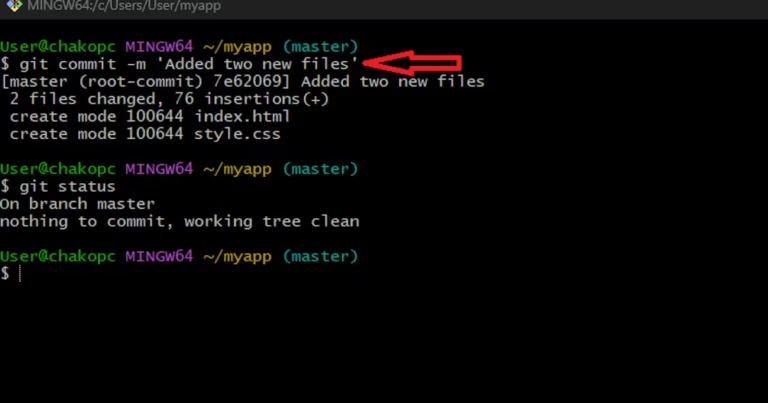
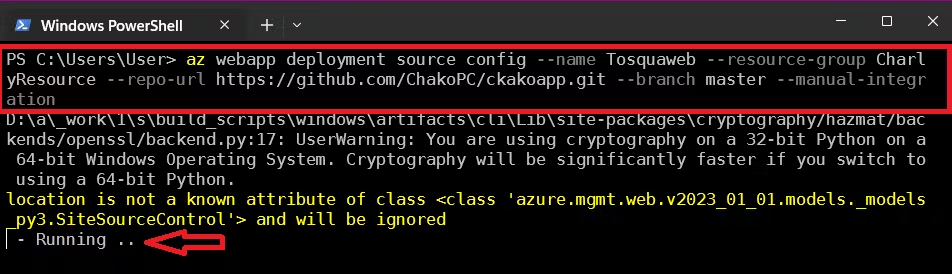
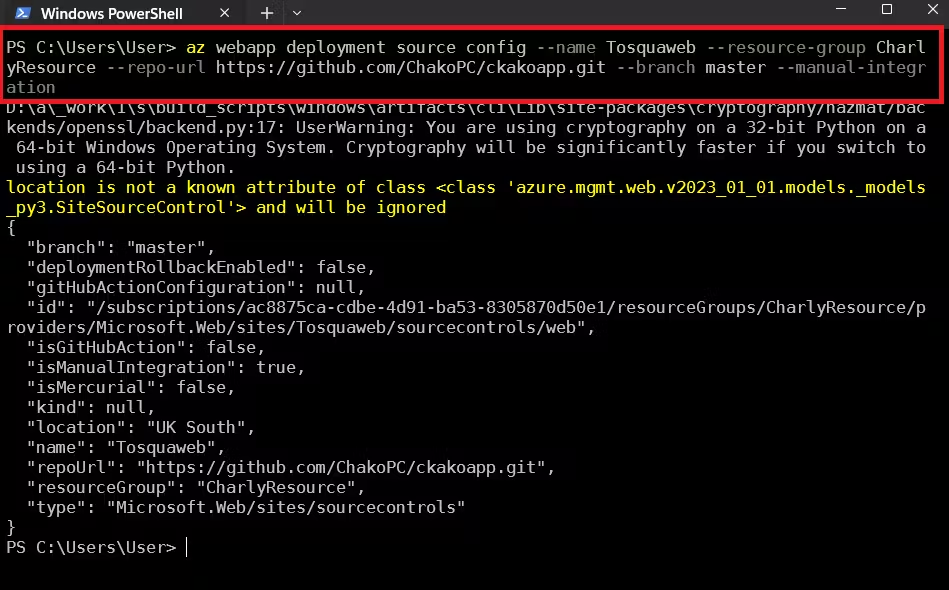
6. Deploy Your Code: You can deploy your code to the web app using various methods such as FTP, Git, or ZIP deployment. For example, to deploy from Git repository, use the command: az webapp deployment source config --name Tosquaweb --resource-group CharlyResource --repo-urlhttps://github.com/ChakoPC/ckakoapp.git --branch master --manual-integration
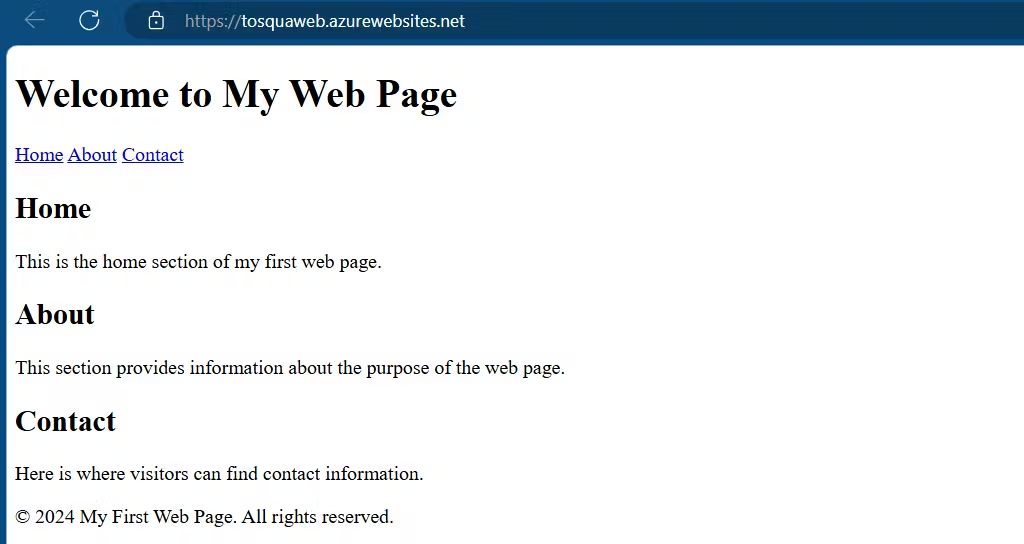
7. Browse to the Web App: Once deployed, you can browse to your web app using the command: az webapp browse --name Tosquaweb --resource-group CharlyResourceIt launches your deployed web application.
If you’ve made it this far, well done!
Greetings! I am Charly, an aspiring DevOps Engineer. Recently, I began the lengthy process of transitioning from Logistics to Technology. Technology has been my passion, having worked in tech support in the past. Welcome to my blog, where I will chronicle my daily learning journey toward becoming a DevOps Engineer.