Installing Azure CLI on PowerShell and Signing in to Azure via PowerShell CLI.

To install the Azure CLI on PowerShell and local host and sign in to Azure, follow these steps:
Step 1: Install Azure CLI
- Open PowerShell as an Administrator:
- Right-click on the Start menu and select “Run as administrator”.
- Run the Installation Command:
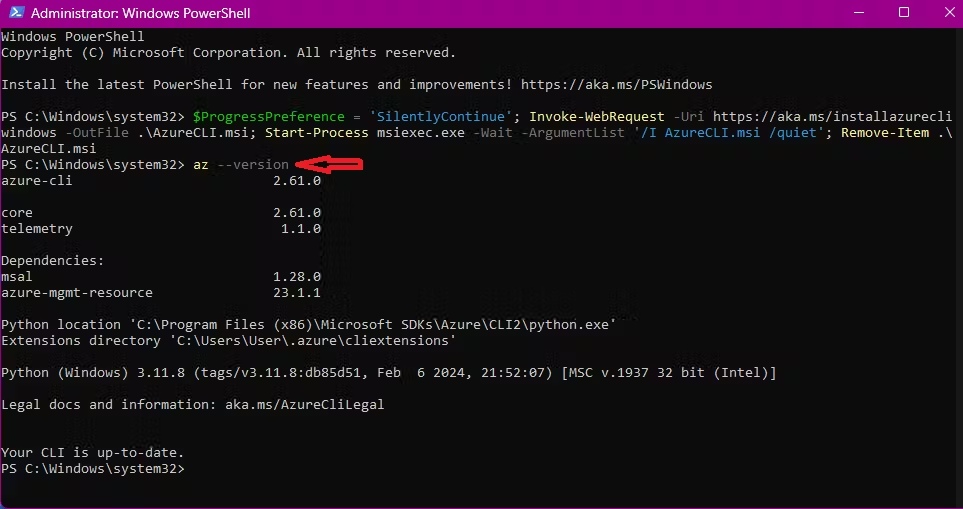
- Execute the following command to download and install the Azure CLI:
$ProgressPreference = 'SilentlyContinue'; Invoke-WebRequest -Uri https://aka.ms/installazurecliwindows -OutFile .\AzureCLI.msi; Start-Process msiexec.exe -Wait -ArgumentList '/I AzureCLI.msi /quiet'; Remove-Item .\AzureCLI.msi
3. Verify the Installation:
After the installation is complete, verify it by running the command: az --version
Step 2: Sign in to Azure
- Open PowerShell and Sign to to Azure: using the following command –
az login- This command will open a web browser window where you can enter your Azure credentials. After successful authentication, the browser will display a message indicating that you have signed in.
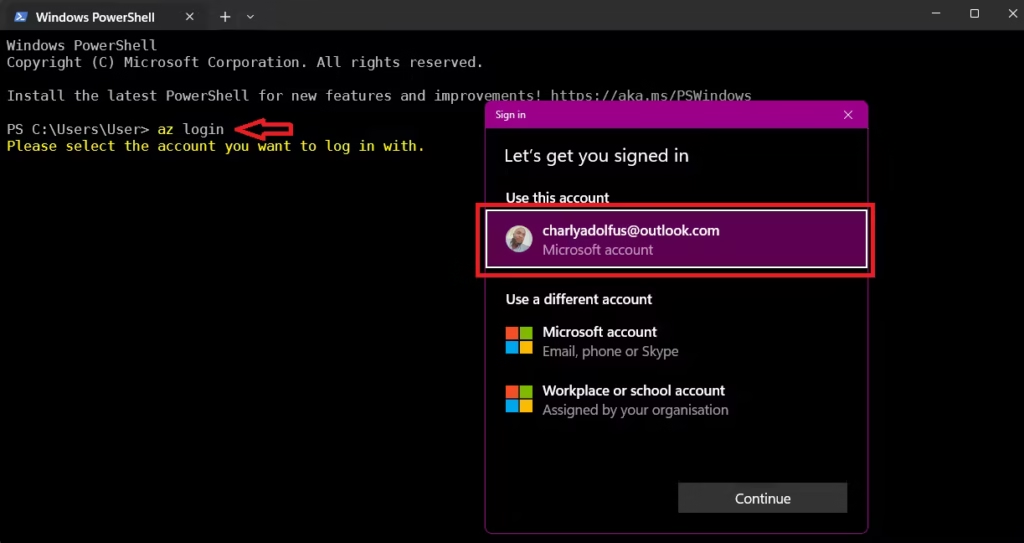
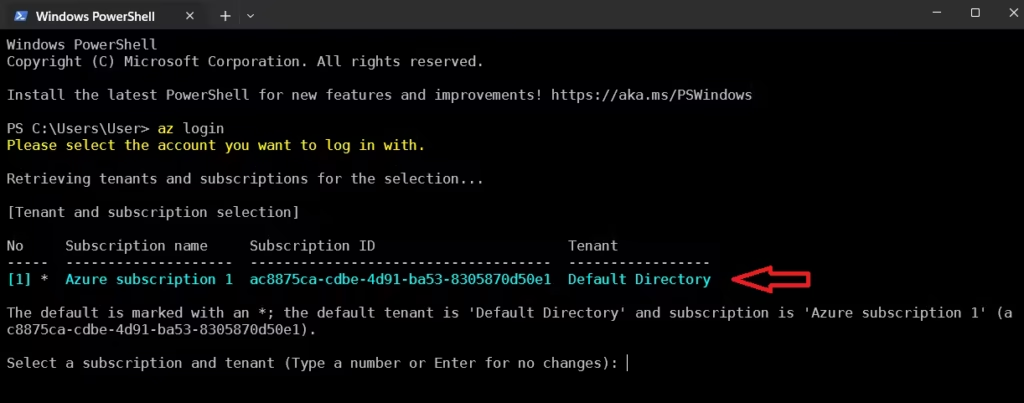
Hit Enter:
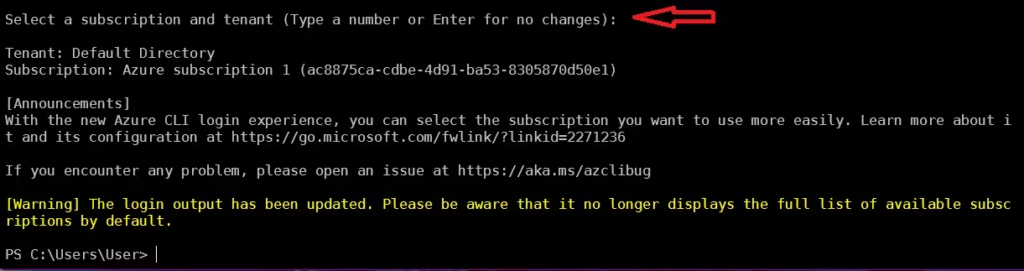
Verify the Sign-in:
2. To confirm that you are signed in, you can list your Azure subscriptions with the command: az account list

By following these steps, you will have the Azure CLI installed on PowerShell and be signed in to your Azure account.
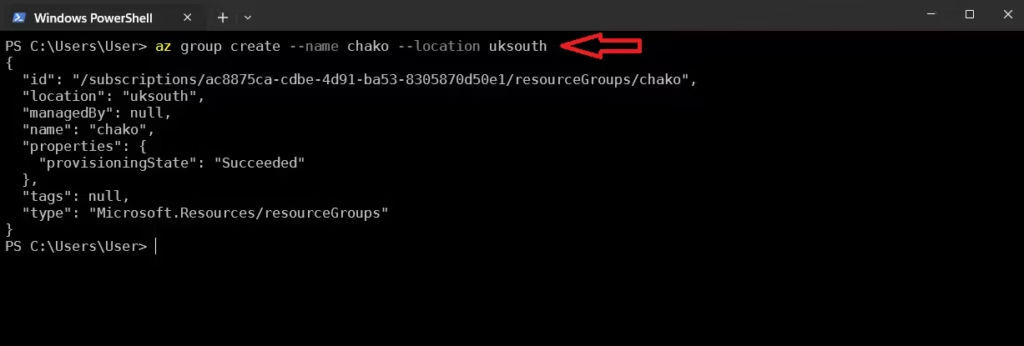
Let’s confirm by creating a resource group via PowerShell.
Use the command: az group create --name chako --location uksouth
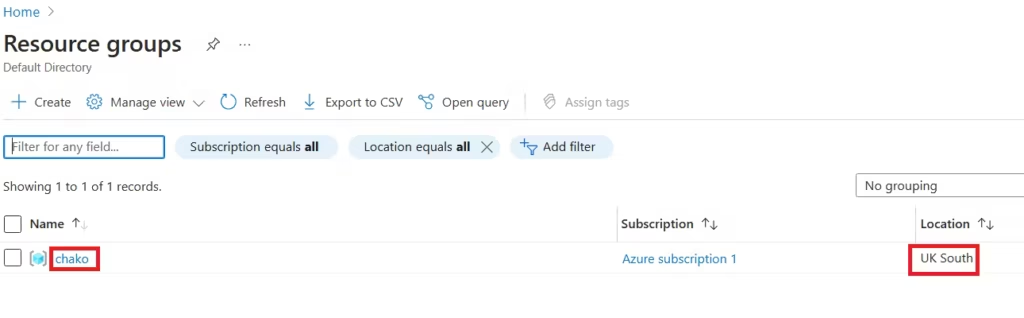
Confirm that it has been created on the Azure portal.
Greetings! I am Charly, an aspiring DevOps Engineer. Recently, I began the lengthy process of transitioning from Logistics to Technology. Technology has been my passion, having worked in tech support in the past. Welcome to my blog, where I will chronicle my daily learning journey toward becoming a DevOps Engineer.